
DOL Starter Coil Voltage: How to Match the Replacement Coil
Mohit VekariaMatch DOL starter coil voltage to the starter’s control supply. Read the old coil label and confirm the voltage, AC or DC, and the frequency if the coil has an AC frequency rating. Then check the full part number in the maker’s datasheet. A starter can switch a 415 V three-phase motor and use a 24 V DC coil. The motor supply and the coil supply serve different parts of the circuit.
Picture a pump starter with a failed contactor. The supplier has two replacements that look alike. Both can switch the motor’s rated load, and both show the same amp rating. One has a 24 V DC coil. The other has a 230 V AC coil. A photo of the amp rating alone gives the supplier too little to choose between them. A second photo showing the coil label and complete part number can save a return trip.
Which number on the contactor is the coil voltage?
Look for the rating beside the coil mark or for Uc in the datasheet. Uc identifies the rated control circuit voltage. Schneider Electric’s TeSys D terminal guide identifies A1 and A2 as the coil terminals on that range. Other contactors may place the coil marking on the front, side or a removable coil module. If the mark is hard to see, use the model’s drawing or have a qualified person identify it after isolation.
A label may also show the contactor’s switching voltage, motor current or motor power for a particular load category. Those ratings help you choose the contacts that carry the motor current. For example, an AC-3 value on the label describes the contactor’s rating for a motor-switching duty. Use the separate coil specification to choose the control supply. The DOL motor starter diagram shows where the power circuit and control circuit fit in the same panel.

Three real part numbers that look almost identical
Schneider Electric lists these three TeSys D contactors with the same 9 A AC-3 motor-switching rating in its product titles. The last characters of the complete part number distinguish the coil versions in this example. Read each suffix in the catalogue for its own manufacturer and model family.
Suppose your old contactor is marked LC1D09BD and the panel drawing shows a 24 V DC control supply. An order request that says only “LC1D09, 9 A, 24 V” leaves room for the 24 V AC version. Write LC1D09BD, 24 V DC coil. Attach a photo of the full code and a photo of the coil mark. If the supplier proposes a different model, ask for its datasheet and the matching auxiliary-contact details before ordering.

How the control circuit gets its voltage
A panel may use a DC power supply, a control transformer or an AC feed arranged for its design. The coil voltage follows the supply routed through the control circuit. Stop buttons, overload contacts, timers and float switches can decide when the coil is allowed to energize. Their presence alone gives you little information about the voltage. A float can command a relay that switches the coil on a separate circuit.
For an AC coil, use the maker’s specified frequency and the allowed operating range for the exact model. For a DC coil, use the specified polarity where the device or suppression module calls for it. Some electronic coils accept both AC and DC over a stated range. Schneider’s TeSys polarity note identifies certain AC/DC models for which DC polarity is immaterial. Follow the documentation for the actual part before applying that example to another coil.
If the panel has been modified, compare the coil marking with the current drawing and the control supply identification. A label on the cabinet door may describe the incoming motor supply. It can also predate a later repair. When the records disagree, a qualified electrician should identify the circuit and confirm the approved replacement before the panel returns to use.

When the contactor clicks, buzzes or drops out
Write down when the symptom starts. A contactor that drops out just after the motor starts gives you a different clue from one that chatters while a float switch is changing position. Note whether the symptom began after a replacement, appears only in Auto mode, or affects other control devices. Schneider’s contactor chatter note lists low voltage, poor control connections and a chattering input among possible causes.
If the issue started after a replacement, compare the full old and new part numbers first. A same-size unit can have a different coil. If the labels match, record which command was active when the contactor dropped out and whether a fault indicator appeared. The electrician can use that history to decide whether to examine the control supply, a relay output, an input device or a worn contactor. Keep the starter out of use if chatter is repeated, there is a burnt smell, or a terminal shows heat damage. Follow the site’s isolation and lockout procedure before opening the panel. Leave energized diagnosis to qualified personnel under the site’s electrical safety procedure.
Check the accessory that sits across the coil
A small module fitted to the coil terminals may be part of the original design. Its job can include limiting the voltage transient when the coil switches off. Record the module code and its connection before making the enquiry. The replacement supplier should use the exact documentation to check compatibility, including AC or DC, operating voltage and polarity where specified. Keep the original accessory with the old contactor until the technician has recorded both codes.
For an installation with a digital controller, the output specification also matters. The controller may switch a separate interposing relay or present a dry contact that the panel uses with a separate supply. A dry contact operates like a switch. It does not by itself say how much voltage or current the connected coil needs. Ask the supplier to identify the approved output and coil combination from the actual drawings. Keep the coil rating and the output rating in separate fields on the repair note.
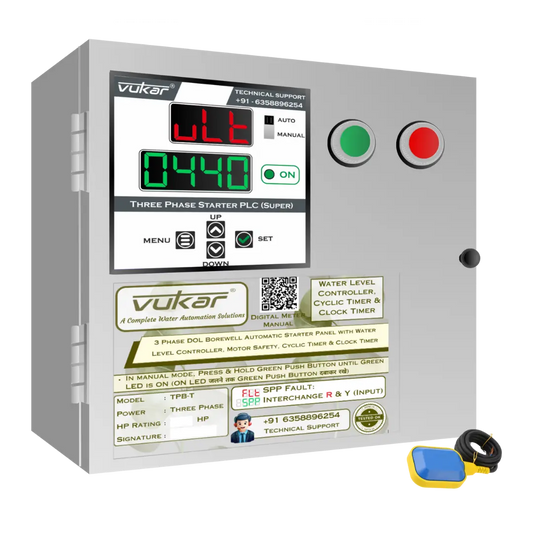
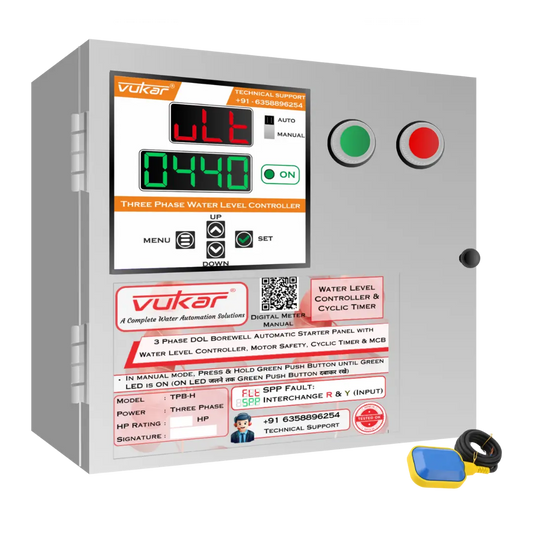
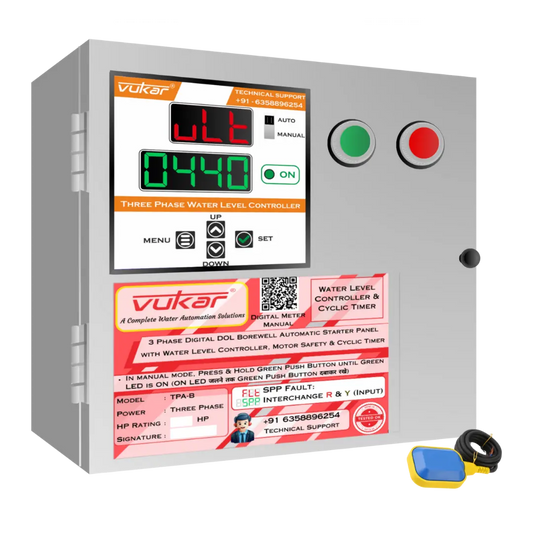
If you service a VUKAR digital DOL panel, identify the specific panel before requesting parts. VUKAR’s catalogue lists several three-phase DOL families, and functions differ by model. The catalogue helps you match the panel model. The service documentation and fitted device markings establish the exact replacement coil. Include both the panel ID and the contactor code in the enquiry. VUKAR three-phase DOL panel comparison.
What to send before ordering a replacement
Start with two clear photos from an isolated panel. Take one photo of the contactor front so the full model and ratings can be read. Take the second of the coil marking, its suffix, and any separate suppression module. Add the control supply marking or drawing reference when available. If a label is damaged, send the cabinet or contactor documentation and ask the electrician or supplier to identify the correct part.
- Full contactor model, including the coil suffix and exact manufacturer.
- Coil voltage, AC or DC, and frequency or range where marked.
- Motor phase, rated voltage, nameplate current and the starter’s switching duty.
- Number and type of auxiliary contacts used by the existing stop, start and feedback circuits.
- Mounting method and clearance around the contactor and overload relay.
If the maker offers the coil as a separate service part, ask for its exact compatibility with the contactor frame and revision. A whole-contactor replacement adds a few more checks. Its poles and auxiliary contacts need to suit the existing circuit, and any attached overload needs the correct mechanical and electrical fit. A photo of the old overload and auxiliary blocks helps the supplier see what has to move over.
Before the panel is returned to service, request a brief handover record from the qualified technician. It should identify the replacement, confirm that the connected motor and existing protection were considered, and describe the observed Start, Stop and restart behavior under the approved procedure. On an automatic pump, include the status of the level or timer demand when power returns. A readable note is useful the next time someone compares a panel label with a part that was replaced in the field.
For a new installation, use the motor starter types guide to choose the starting method first. For a repair, put the full part number and the control supply on the same line of the purchase request. The electrician and supplier can then match the replacement against the same information.