
DOL Starter Overload Relay Range Chart: How to Select a Replacement
Mohit VekariaA DOL starter relay range chart helps you shortlist a replacement overload relay. Find the motor’s rated current for its actual supply and connection. Then choose a relay whose adjustment range includes that current and whose trip class, mounting and control contacts suit the starter. A range of 9–13 A tells you where the dial can be set. The motor and the starter documentation tell you where it belongs.
On a direct-on-line (DOL) starter, the overload relay monitors current in the motor circuit. When it trips, a contact in the starter’s control circuit usually changes state and causes the contactor to release. Short-circuit protection is a separate part of the design. A technician selecting a replacement needs both the relay details and the upstream protective-device information.
Start with two photos
Take a clear photo of the motor nameplate and a second photo of the existing relay label. Have a qualified electrician collect the panel information under safe isolation, especially when the label is inside the enclosure. Ask them to photograph the relay model code, its current range, its mounting and any markings for trip class or reset. If the dial was altered after a trip, record what it shows and who changed it. A dial photo is useful history.
On the motor plate, look for the amperes listed against the actual voltage and connection. Some motors show two voltages, two currents and two connection symbols. Pair those entries correctly. If the plate is hard to read, use the exact motor model and the manufacturer’s data. Record horsepower or kilowatts for identification. Current, supply and duty are the selection inputs that matter here.

Example DOL starter relay range chart
These example ranges come from one Schneider Electric TeSys LRD family. The rows illustrate how current ranges overlap. The figures are amperes. Confirm the exact relay data and contactor pairing before ordering.
| Example adjustment range | Illustrative nameplate current | What this tells you |
|---|---|---|
| 2.5–4 A | 3.2 A | The dial can reach 3.2 A |
| 4–6 A | 5.2 A | The dial can reach 5.2 A |
| 5.5–8 A | 7.2 A | The dial can reach 7.2 A |
| 7–10 A | 9.2 A | Check this and the overlapping range against the approved pairing |
| 9–13 A | 9.2 A | This range also contains 9.2 A |
| 12–18 A | 15 A | The dial can reach 15 A |
For instance, Schneider lists its LRD16 at 9–13 A and class 10A. Its product page gives model details and links to the associated documentation. Use the specific product page for procurement. Schneider Electric TeSys LRD16 specifications.
The useful row in the chart is the one with the motor’s actual plate current. With the example 9.2 A motor, both 7–10 A and 9–13 A pass the range check. If the existing starter drawing specifies a compatible 7–10 A part, that model is the natural starting point. If the catalogue points to a different compatible pairing, use that evidence. Both dials can reach 9.2 A. The mating contactor, terminal arrangement and approved coordination resolve the choice.

Check three things beyond the dial
Trip class
Trip class describes how a relay responds to sustained current during a specified test. It matters on a load that takes time to accelerate. Use the motor and starter manufacturer’s guidance for the starting duty. A recurring start trip may point to a hard-starting load, a supply issue or a mismatched relay. Raising the current setting to silence it can leave the motor with less protection than the design requires. Schneider Electric guidance on thermal overload trip classes.
Mounting and terminals
A relay that clips directly under a contactor needs the correct frame and terminal spacing. Some products support separate mounting with a specified accessory. Compare the exact part number, the number of motor poles and how the control contacts are used. On common units, 95–96 is the normally closed trip contact and 97–98 is the normally open signal contact. Read the model drawing because the panel may use either or both for its stop chain, alarm lamp or controller input.
Reset and coordination
Record how the old panel resets after a trip. If the new relay has a manual or automatic reset choice, preserve the behavior required by the panel design and its risk assessment. A maintained remote run request can remain present after a device resets. The technician should confirm the reset and restart sequence during commissioning. They should also use the manufacturer’s coordination tables to check the combination of overload relay, contactor and upstream protective device.


A replacement example you can use at the counter
Say an electrician brings a photo of a pump motor rated 9.2 A at the installed supply and an old relay marked 7–10 A. The relay clips under the contactor. The panel’s fault lamp uses the auxiliary signal contact. The enquiry should identify both model codes, confirm the 7–10 A range and trip class, and mention that the signal contact is in use. That gives the supplier enough information to identify a compatible replacement or explain why another combination is needed.
Now suppose the old relay is marked 5.5–8 A. Its range cannot reach the 9.2 A on the replacement motor plate. Before ordering a larger relay, ask what changed. A new motor, a revised pump or a changed duty can also affect contactor and upstream protection selection. Look at the starter as a coordinated assembly. On a system with a current transformer or a different overload location, follow the specific equipment documentation for its setting basis.
Where a VUKAR panel fits
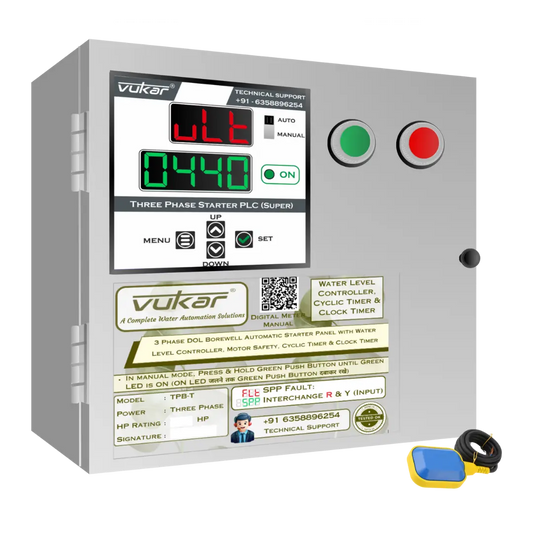
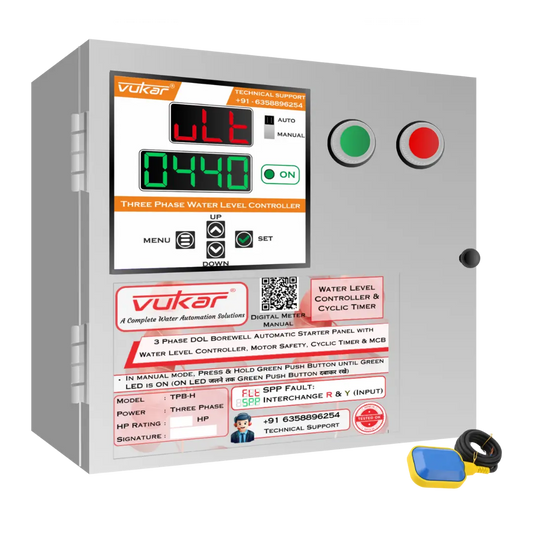
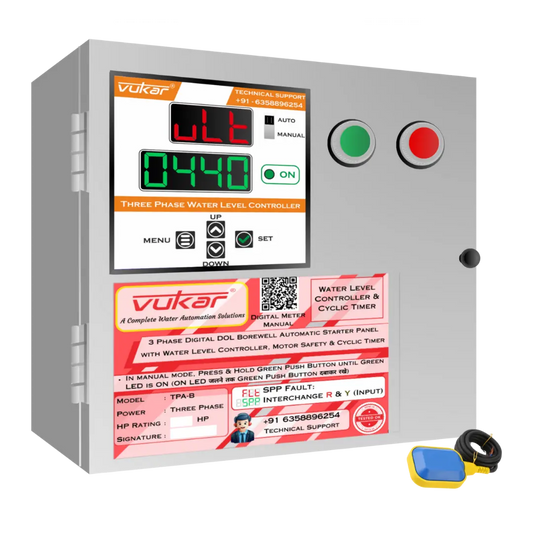
Some digital DOL panels expose overload through a controller setting. A separate clip-on relay range chart applies only if that exact hardware exists in the panel. VUKAR’s product catalogue lists overload protection among the features of the TPM-A three-phase digital DOL panel. Start from the exact model and revision to identify the fitted hardware and the overload setting method. Use the menu and manual for that revision when the protection is configured digitally. VUKAR product catalogue and TPM-A setup reference.
If the customer’s first complaint was a pump trip, write down when it occurs, the displayed code and whether the overload device actually changed state. A timer stop, a dry-run event and an overload event have different causes. That record can save a parts order and keep the original fault available for diagnosis.
What changed since the last time the panel worked?
Ask for a short history before treating the relay as the root cause. A clean replacement for a cracked housing is a different job from a panel that has started tripping on warm afternoons. Record whether the problem appeared after a motor change, after the pump was serviced, or after a supply interruption. Note whether the original overload setting is still readable. The repair team can use the sequence to decide what to test first.
For a faulty relay, preserve the original part until the electrician has confirmed the markings and observed the panel’s behavior. A photo of the disconnected component is more useful when it also shows the accessory or adapter that was fitted. Some seemingly identical assemblies use different parts or reset mechanisms. If the supplier offers a substitute, ask for the compatibility document and record the accepted model on the updated drawing.
In a site with several similar pump panels, identify the panel and motor as a pair. Two starters may look identical from the front while the connected motors carry different current ratings. Put that pair ID on the job sheet and parts enquiry. It prevents a relay choice made for one pump from becoming an undocumented standard for every pump on site.
What the technician should leave on record
- The motor rating, actual voltage and connection, and the nameplate current used for selection.
- The old and new relay part numbers, current range, trip class and mounting arrangement.
- The selected reset mode and the documented current setting.
- The approved upstream protective-device and contactor pairing.
- The outcome of the manufacturer-approved trip and reset checks and the observed restart behavior.
For a healthy replacement, the starter’s indication and control response should match its design when the protective device operates. A qualified technician can verify that using the approved procedure and put the result on the panel record. Ask them to distinguish the selected dial setting from any measured running currents taken during commissioning. The next service visit will benefit from having both on paper.
If you need the circuit context before collecting details, start with the DOL power and control diagram. The motor overload setting guide explains the setting decision once the correct relay has been chosen.