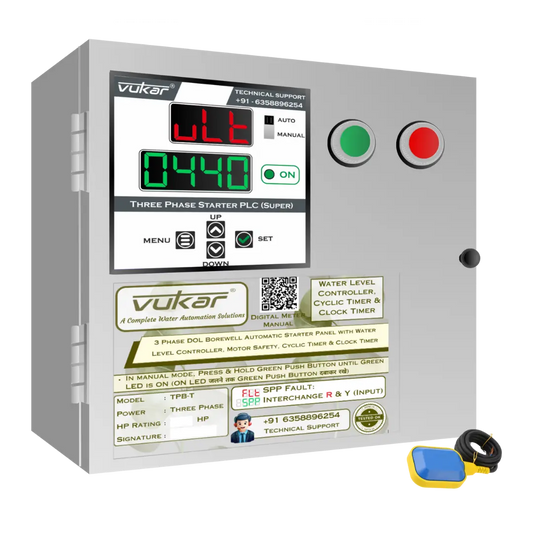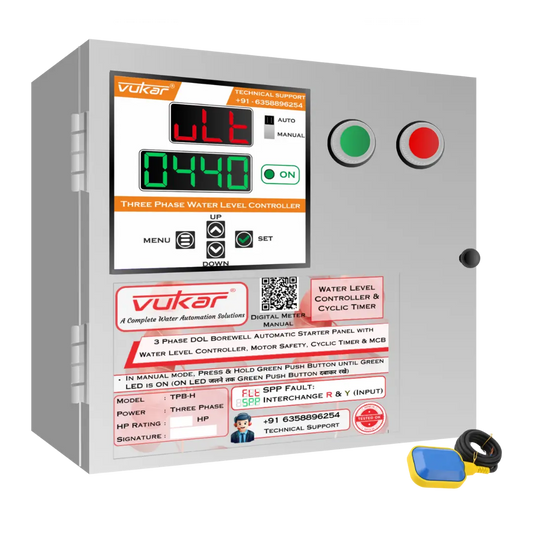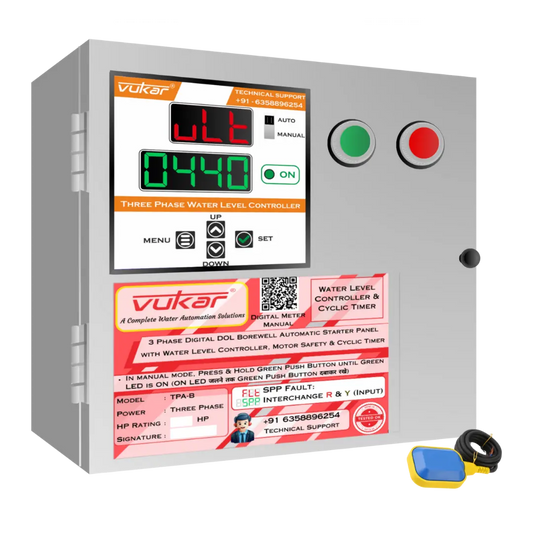

VUKAR BOA-H Borewell Starter Panel: Installation and Water-Level Settings
Mohit VekariaFor a BOA-H borewell starter panel setup, match the single-phase pump and panel variant first. Commission the supplied tank float and check both start and stop levels. Have the installer check the built-in MCB as part of the circuit protection. Have a licensed electrical contractor install the panel and use the wiring diagram for the installed model and revision.
BOA-H installation and motor match
Find the motor nameplate or the paperwork for the pump. Record the phase, rated voltage, horsepower (HP) and rated current in amps. Check the BOA-H panel label and share both sets of details with the installer. The product listing shows these options: 0.5 HP, 0.75 HP, 1 HP, 1.5 HP and 2 HP. Have the installer confirm the exact variant and its suitability for the motor and operating duty. See BOA-H specifications and variants
If you are replacing a panel, keep the pump documents and record how the old setup was used. Ask the installer to compare the new panel and motor connections with the supplied diagram. Existing labels can help identify the conductors, while the electrician verifies each connection before energizing.
Ask the installer to verify protective earthing, the supply and motor connections, and the circuit protection for the installation. Where the motor needs capacitors, the installer should confirm the type, rating and connections from the motor and panel documentation. The supply must be isolated and verified off before the enclosure is opened for wiring or service. Central Electricity Authority safety regulations
The built-in miniature circuit breaker (MCB) provides panel-circuit protection. Have the electrician confirm the required supply isolation and upstream protection for the whole installation. If a breaker opens, leave diagnosis and the decision to re-energize to the electrician.

BOA-H water-level settings and operating mode
Set and verify the tank switching points
Confirm which float state calls for water and which state ends filling in the approved mode. Have the installer position and connect the supplied float using the model instructions. It needs enough free movement to change state at the planned water levels. Keep the full-level point below the overflow and check that the installation leaves room for the float to move when the tank fills.
Identify the active settings in the product instructions before entering or changing values.
Check the display and pump response together. Read the indicated level, observe whether the motor receives a start or stop command, and check what the water is doing. A float-driven stop is verified when the float reaches the intended point and the motor stops as designed. A timer can end a run earlier in a configured mode, so record what actually caused the stop. Tank filling and level control
Write down the lower and upper switching points and the active mode. If the panel also uses cyclic timing in this application, confirm the run and rest intervals with the installer after the tank test. Ask which conditions are required for the next start.

What matters at this site
Check the HP option before copying settings from a BOA-C. The current BOA-H listing covers 0.5 to 2 HP. The float can still read the tank while a separate issue with supply or protection prevents the pump from running.
Keep the borewell and tank conditions in view during the first run. A borewell can deliver less water as the run continues. Ask the installer to check how delivery changes and follow the pump maker’s limits for operating time and starts. Record what the delivery looks like once the pipe has filled and the flow has settled.
How to use BOA-H after installation
Ask the installer to explain the conditions required before starting the pump. Check that the receiving tank or delivery point can accept water, that the source can supply the pump, and that you can use the normal stop control from a dry area. Keep the panel closed during the watched test.
- Confirm the mode and saved settings. Read the active setting and its unit with the installer. Agree on what should make the motor start and what should make it stop in this mode.
- Watch a normal start and stop. Have the installer prove a normal float-controlled stop and explain how to recognize a protection stop. Record the indication that belongs to each.
- Ask about automatic restart. Confirm what the selected mode does when power returns, a timer becomes eligible, or a protection condition clears. Have the installer explain how to leave the equipment safely isolated for service.
- Record the observed result. Write down the motor rating, panel variant, selected mode, settings, display readings and actual stop or restart behavior. Keep the date and the correct diagram in the same record.
The installer should show the operator how to read the display and stop the pump safely. If the observed behavior differs from the planned sequence, keep the pump under supervision while the installer checks which setting or signal controls the motor. Watch the BOA-H product video
What to record during the first test
- Tank calls for water
- Write down the tank level, float indication, motor state, and whether water delivery begins.
- Tank reaches its stop level
- Check the exact point where the float changes, the display state, and the motor response.
- Source conditions change
- Record any loss of delivery and the fault or wait indication before checking the next permitted start.
- Water level drops again
- Observe when the controller accepts a new demand and check which operating rule applies at that point.
Repeat the check after the tank has fallen enough to make a new call for water. This second transition helps confirm that the float can move freely in both directions. Keep the installer nearby if the float reads correctly but the motor response differs. They can check the selected mode and any active timing rule while you record what the panel actually did.
If the BOA-H pump stops or fails to start
When the tank is low and the panel does not start the motor, note whether the panel has power and whether a fault or wait condition is shown. If the breaker has opened, have the circuit checked.
Write down the exact display code and what the pump did just before it appeared. VUKAR uses FOL for overload, FDR for dry run, HIU for high voltage and LOU for low voltage. If the same fault returns, ask the installer to diagnose the cause before operating again. VUKAR fault-code guide

An observed flow change helps narrow down what happened. Record whether water delivery was steady, fell gradually, or stopped at the same instant as the motor. That detail helps the installer decide where to check first on a borewell installation.
What should happen when the tank reaches the intended full level?
In the commissioned level-control mode, the float should signal the full level and the motor should stop. Verify the actual level and display during a watched fill, with the normal stop control accessible.
What should the operator record at handover?
Keep the panel label, pump nameplate details, correct wiring reference and observed results together. Record the active mode and tank float, switching levels and cyclic operation. Add any conditions the installer checked, such as the normal display at startup and the expected behavior after power returns. When something changes later, this gives the technician the settings and conditions from a known working run.
Recommended BOA-H Settings: Tank Switching Points, RUN/RST and Start Delay