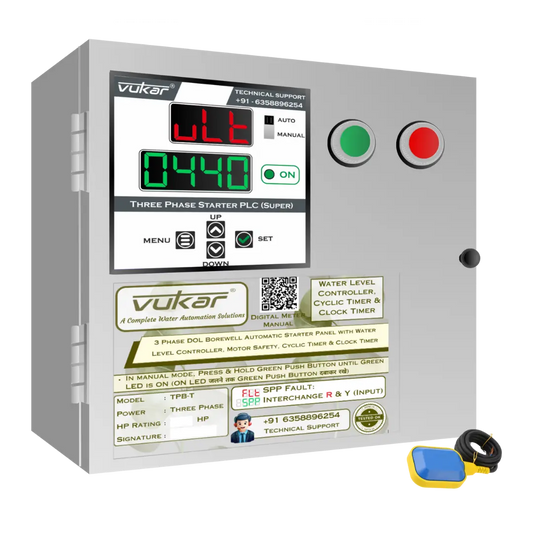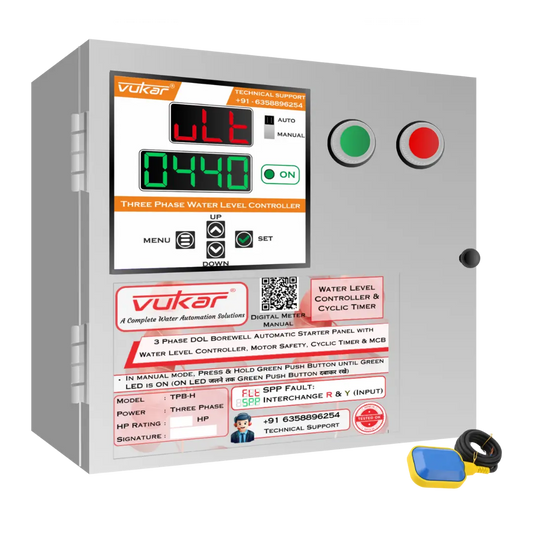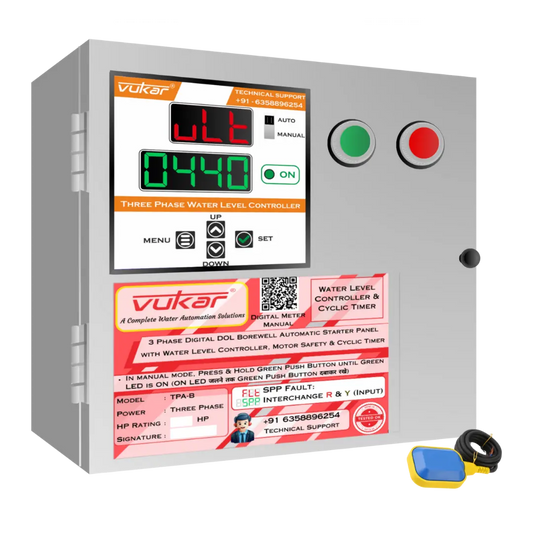

VUKAR DEV-H1 Borewell Water-Level Controller: Installation and Water-Level Settings
Mohit VekariaFor a DEV-H1 single phase borewell water level controller setup, check the single receiving-tank float and prove the two switching points with the compatible single-phase borewell starter. Have a licensed electrical contractor install the equipment and check the protection settings using the instructions for the installed revision.
DEV-H1 installation and equipment match
Identify the pump, its phase, and the starter or motor-control circuit before selecting the controller. Record the motor’s voltage, HP and rated current. Also identify every float supplied for the selected installation and its purpose. The installer should check compatibility of the motor switching and sensor inputs together.
Use the single-phase water-level controller with the compatible motor-control circuit for your installation. Give VUKAR the exact model and motor details when you request instructions. DEV-H1 specifications and options
The controller receives a signal from the tank float and issues a motor command through the compatible control circuit. Have the installer check the sensor wiring, cable route and the motor-switching equipment against the matching guide. Label each float cable before commissioning and record what each input is meant to report.
Have the installer verify protective earthing, isolation and circuit protection. The supply must be isolated and verified off before anyone opens an enclosure or handles conductors. The electrician should verify the single-phase supply and existing motor-control circuit before handing over automatic operation. Central Electricity Authority safety regulations

DEV-H1 water-level settings
The DEV-H family reference uses named operating modes. Confirm the label and key layout for the installed H1 revision before selecting one. With the electrician, verify the float signal and how the starter behaves at each level.
Set the intended low and full levels for the receiving tank. Have the installer position the float and confirm that it can move freely through those levels. Give it room away from the wall, pipes and inlet flow. Keep the full-level switching point below the overflow, with access for inspection.
One DEV-H family manual labels the automatic sensor-and-timer mode FAT. Confirm the installed model’s display and manual before applying that reference. The important handover check is the response to a valid tank demand and the observed stop point.
Check which float state calls for a fill and which ends it. Observe the actual tank level, the indicated input and the motor response. Where a separate source sensor is part of the design, verify its role independently. Source water availability can affect whether the controller permits a start. VUKAR water-level controller guide
Read back the active level-control mode before leaving the pump on automatic. Confirm any run, rest or recovery settings the installer enabled. Observe the transition from a full tank to the next eligible demand so you can check that the float changes correctly in both directions.

How to use DEV-H1 after installation
With the enclosure closed, check the controller’s display and the actual starter response during the first watched fill. Record tank level, float state, motor command and water delivery as separate observations so a later service visit can trace the signal path.
Before the watched test, confirm that water is available and the receiving point can accept it. Keep the enclosure closed and make sure the normal stop control is safely accessible. Agree on what counts as a successful run before you enable automatic operation.
- Confirm the saved settings. Read the active mode and relevant values with the installer. Record what should permit a start and what should end the run.
- Observe the motor response. Watch the borewell pump respond to tank demand and stop at the selected upper level. Check water delivery and the display during the fill.
- Verify recovery behavior. Ask the installer to document what happens after power returns or a protection condition clears. A permitted automatic restart can occur without a new button press.
- Keep a handover record. Record the DEV-H1 label, supply, motor rating, wiring reference and actual test results together.
What to record during commissioning
- Tank calls for water
- Record the actual water level, float indication, motor state and whether delivery begins.
- Tank reaches the full mark
- Record the observed switch point and motor stop. Check that the tank remains within the planned limit.
- Source condition changes
- Check the approved response when the source cannot supply water. Record any display indication or required wait.
- Tank level falls again
- Confirm the float moves freely and the next eligible demand is recognized in the active mode.
Observe each transition from a dry and safe location. If the actual response differs, record what the display, starter and pump each did. The installer can then trace whether a setting, an input, a protective condition or the motor circuit determined the outcome. VUKAR manuals and connection diagrams
Map each float signal before commissioning
Ask the installer to label the receiving-tank input and any separate source input the model and site use. Check the normal positions and the planned levels while the float can still be inspected. At handover, record both the tank level and the state shown on the device. This helps locate a problem when a cable, float or input changes.
Check what the starter does with a valid tank signal
The tank may send a demand while a protection condition or another control holds the motor off. Check the displayed state, the starter response and the actual water delivery in that order during the first watched fill. Record the observations with the selected mode so the next technician can reproduce the conditions.
Review the site when a sensor or tank changes
After a float is moved or a tank is replaced, check that the sensing point still leaves safe room below the overflow and enough water for the intended use. Have the installer verify both transitions again. Update the handover record with the new levels and the response that was observed during the test.
Confirm access for future float checks
Keep the float location and the cable route in the site record. The operator should know how to observe the water level and where to report a stuck or damaged float. Ask the installer to explain the normal stop and the action to take if water continues to rise past the agreed point.
DEV-H1 troubleshooting after an unexpected stop
Read the display and note the elapsed run time, water delivery and the condition that preceded the stop. On applicable VUKAR controllers, FOL indicates overload, FDR indicates dry run, and HIU or LOU indicates high or low voltage. If a fault returns, have the cause diagnosed before another run. VUKAR fault-code guide

What should I record if the tank is low but the motor is idle?
Write down the actual level, the displayed float state, the mode and any fault or wait indication. Those observations help the installer determine which condition prevented the start.
When a pump, starter, float or water source changes, give the installer the previous commissioning record. Have them recheck the expected sequence and verify the changed installation before relying on automatic operation again.
Before the system is left on automatic
Review the normal start, normal stop and recovery behavior with the person who uses the pump. Keep the approved settings near the controller or in the site records. Where another control also affects the pump, identify its role and record who should be contacted if the motor responds differently from the documented sequence.
Record an unexpected event while it is fresh
If there is an unexpected stop or a delayed start, write down the time, the visible display and what the pump was doing. Also note any recent power interruption or change to the water source. Keep those details with the equipment model so the installer can check the relevant setting and conditions.
Recommended DEV-H1 Settings: Borewell Tank Switching Points and Run/Rest