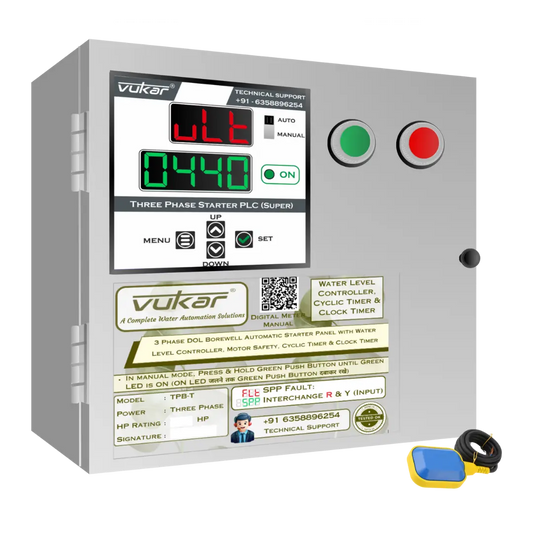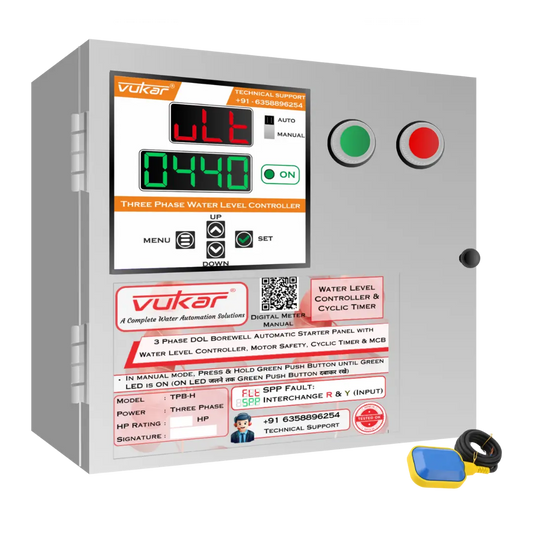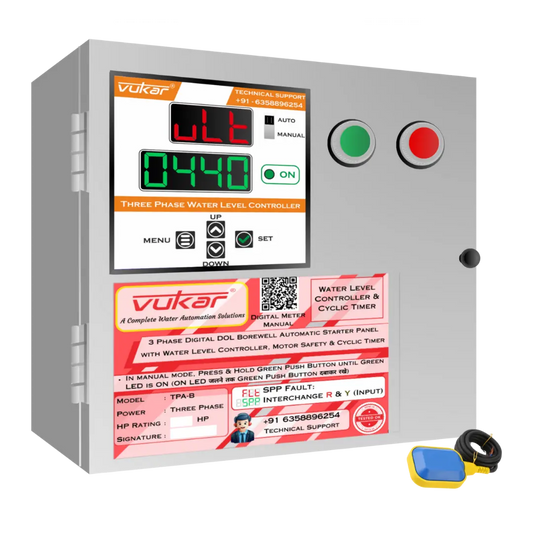

VUKAR Multi-Tank Water-Level Controller: Installation Planning, Setup and Use
Mohit VekariaFor a VUKAR multi-tank water level controller setup, first map every tank, pump, sensor and valve. Have VUKAR prepare or confirm a drawing for the site. Then have the installer prove the sequence for each tank, for simultaneous demand and for a condition that stops the pump.
Multi-tank controller installation planning
Draw the water source, pumps, main pipes and each branch to a tank. Give every tank a label that people on site will recognize. Mark each tank’s normal low and full levels and the location of its sensor. Record the distance from the controller to each tank and valve so the installer can plan the cable routes.
For each pump, record the motor nameplate, supply phase, rated voltage, HP and current. Include the current starter details and identify the equipment that isolates the circuit for service. The designer needs to know which pumps can supply which tanks and which tanks may draw water at the same time. VUKAR custom multi-tank controller

Give the installer the pipe sizes and tank heights if they are known. Also note any manual valve and any water line that can feed a tank independently. Two tanks may fill at different rates even when they share a pump. The pipe arrangement and the water available at the source affect whether several branches can fill at once.
Check where the control panel can be accessed from a dry location. Have a licensed electrical contractor verify the electrical supply, earthing, protection and isolation. Supply must be isolated and verified off before work inside the panel. Have the plumbing installer confirm the valve locations and service access. Central Electricity Authority safety regulations
Multi-tank water level settings and control rules
For each receiving tank, agree what counts as a request to fill and what condition ends filling. Leave room below the overflow and enough space for any float to move freely. Identify the corresponding valve or other filling arrangement on the drawing. A solenoid valve is a valve operated by an electric signal. Label its output with the same tank name used for the level input.
When several tanks demand water, agree whether the installation should fill compatible branches together or follow a priority sequence. Have the designer confirm which arrangement the pump and pipes can support. Record what each valve and pump should do when one tank reaches full and another still needs water. Include the expected stop when the final demand is satisfied. How one pump can serve several tanks

Also agree which source conditions permit a start. If the system has a source float, identify the relevant signal and the response when source water falls below the agreed level. Ask which conditions govern recovery after a power interruption or a protection stop. Record any retry delay and whether an operator must intervene.
Use the settings sheet issued for the commissioned layout. It should identify the installed pump and sensor circuits, protection values, operating rules and any feedback inputs. Read the settings back with the installer and keep them with the approved drawing. Use the commissioned values for later service and review them when a pump, valve or tank changes.
Agree what the operator can check
Ask the designer to list what the display can confirm about each branch. A tank signal can tell the controller the tank needs water. A valve command tells it which branch should open. If valve feedback is part of the design, record how it is shown and how the installer will verify that the indication agrees with the valve or actual flow. Give the operator the same tank and valve names on the display, the drawing and the installation labels.
Plan for pump and valve servicing
Confirm who can access the pump, controller and valve assemblies. Record the labelled isolation points and any manual bypass that is part of the pipe design. Ask the installer to document which parts of the installation can be serviced independently. If a branch is temporarily taken out of service, the site record should show what changed and who will verify its controls before the branch returns to use.
How to use the VUKAR multi-tank controller after commissioning
Start with a watched fill of one tank. Confirm the tank name on the drawing, the level indication and the valve assigned to that tank. Observe when water reaches it and when the valve and pump respond. Repeat the check for every branch so a crossed signal or incorrect tank label can be caught before the installation is left in service.
- One tank requests water
- Verify the named valve or filling path, the pump response and actual water delivery to that tank.
- Several tanks request water
- Verify the agreed order or simultaneous filling behavior. Check that any tank already full stays within its intended limit.
- One tank reaches full
- Observe the matching valve and what the pump does while other demands are still active.
- All active demands are satisfied
- Confirm the designed pump stop and the final condition of the controlled valves.
- Source condition prevents pumping
- Have the installer verify the designed stop or inhibit using an approved test method. Record any retry or operator action.
Have the installer explain how the operator can see which tank is calling for water, which pump is running and which fault or wait condition appears. Identify the normal stop and the separate supply isolation point. If there is a manual operating mode, record how the installer expects it to be used and how to return to automatic operation.

Before handover, keep the current drawing, tank and valve labels, tested settings and support details together. Write down the expected response after power returns. If the installer can safely verify recovery, record what the valves and pumps actually do before automatic operation resumes. VUKAR multi-tank controller video
Record the test results tank by tank
Keep one line in the handover record for each tank. Note the expected input, commanded valve, actual water delivery and observed stop. Add a separate line for each overlapping-demand check. If the response differs from the design, have the installer record the cause and retest that part of the system after correction. Keep the latest approved record at the site, so future work starts with the actual configuration.
What to check if a tank fails to fill or stop
Record the tank name, its actual level, what the controller indicated, the valve command and whether the pump was running. Where the system has valve position feedback, record that too. A command to open a valve tells the installer what the controller requested. Observing flow or verified valve feedback helps establish whether the valve actually responded.
If one tank fills while another remains low, check the approved sequence with the installer. Confirm which branch should be active and whether it receives water. If no tank fills, record the source condition and pump display. Ask the installer to check the cause before changing the settings or attempting another automatic run.
What should I send to VUKAR for help?
Send the tank and valve labels, motor nameplates, the current layout and the observed sequence. Include the exact display or fault indication if one appeared. For a new installation, add the number of tanks and pumps, the available supply and the estimated distance to each valve and sensor.