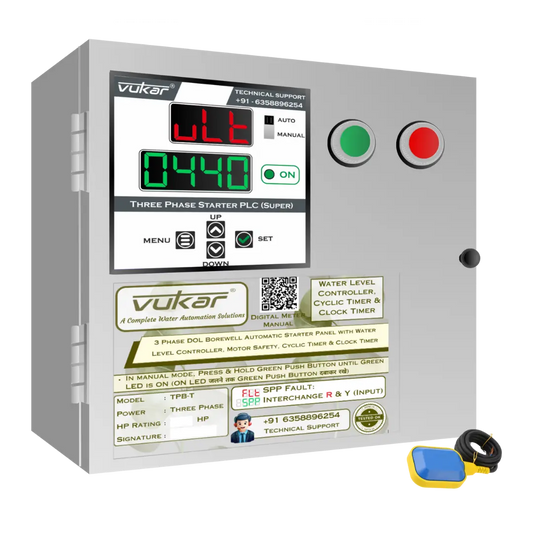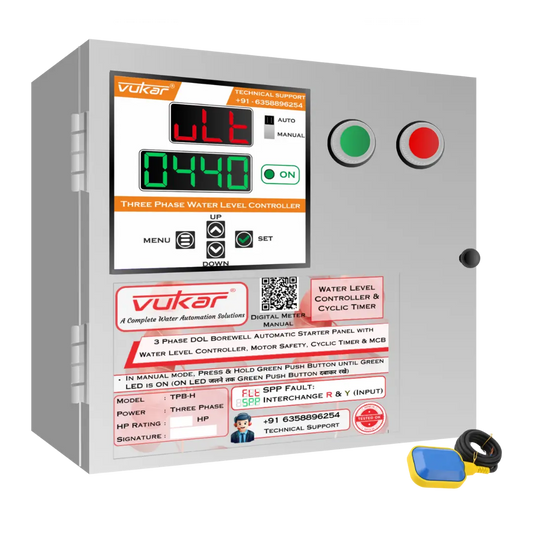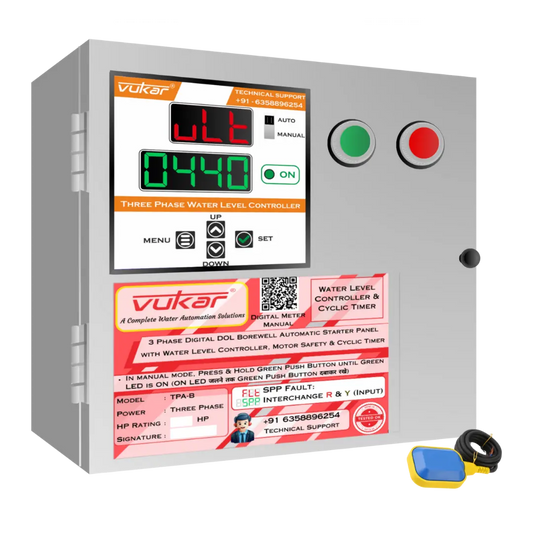

Recommended DM-TP-CYC-96 Settings: Three-Phase Protection and Cyclic Run/Rest
Mohit VekariaFor the DM-TP-CYC-96 recommended parameter settings, set the DM-TP-CYC-96 protection values for the installed three-phase motor, then choose run and rest intervals from source recovery, steady flow and allowed starts.
Start with the installed unit
Write down the model and revision from the unit label, the motor nameplate, the type of starter and the normal operating mode. Keep those details together. Two devices with similar front panels can have different menu options. The correct model guide and the current installation record are the references for any actual setting.
Use the product page to identify available functions and the installed revision’s guide for units, menu names and how the selected mode operates.
If the pump, sensor or operating mode changes, keep the previous record. Mark the date of the change and have the installer observe the revised sequence before relying on automatic operation.

Match the meter to the starter circuit
The digital meter belongs to a motor-control arrangement. Have the installer confirm the compatible starter or contactor, the sensing arrangement and the actual device revision. An electrician should document where the meter’s output command goes, and how the installation confirms that the motor received power. Keep the meter’s displayed reading together with the electrician’s observations.
The motor’s rating is only one part of the decision. The installer also needs the supply arrangement, the nameplate current and the operating conditions of the pump. Have them document which readings are normal when water is flowing steadily. If the meter shows a value that differs from its earlier baseline, record the conditions and leave the calibration decision to the installer.
Use the motor and supply limits
Have the electrician match the motor’s nameplate and the controller’s sensing arrangement before setting overload, dry-run or voltage protection. A setting copied from a different pump can be unsuitable even when the pumps have the same horsepower. Ask the electrician to record the approved values, their units and which manual or measurement they used. Keep the previous approved values in the record if a setting needs to be changed.
Observe normal operation from a dry and safe place with the enclosure closed. Changes to wiring, live measurements, current sensing, protection and automatic restart belong with the installer. If a fault reappears, record the indication and stop using automatic operation until the cause has been assessed. Use the product instructions and the applicable electrical safety rules for installation and service.
Choose RUN and RST from the water supply
RUN is the elapsed pump-on time. RST is the planned pause between cyclic runs in the selected mode. Choose RUN based on how long the source can deliver a steady flow, the space available where the water goes, and the motor maker’s permitted operating conditions. For RST, consider how long the source needs to recover and any minimum time between starts for the motor.
To estimate starts per hour during an uninterrupted cycle, add RUN and RST in minutes and divide 60 by the total. For example, 10 minutes on and 20 minutes off gives about two planned starts per hour. These are example values. Include any separate starts from other controls, power recovery or fault recovery when the installer reviews the motor’s actual start frequency.
What to observe on this model
Two cyclic patterns can have the same share of pump-on time and different start counts. A 10-minute RUN plus 20-minute RST gives roughly two planned starts per hour. A 5-minute RUN plus 10-minute RST gives about four. These examples assume uninterrupted cycles and are not settings to copy. For the actual three-phase motor, compare start limits, water recovery and the maker’s minimum run time with the installer.
Write down the first visible start, the stop and the end of the rest period. Note whether the motor started again. Compare those observations with the saved timing and the motor maker’s start limits.

Compare the stop with the saved timer
Start the stopwatch when the motor actually starts. Write down the planned duration from the installed unit’s saved setting and the elapsed time from start to stop. If the pump stopped at the expected time in timed-stop mode, that is consistent with a normal timer stop. If it stopped earlier, keep the timing and look at the visible indication and water delivery.
Note the timing in minutes and seconds where practical. A stop at the same clock time and a stop at the same elapsed time are different patterns. Also record whether the water remained steady until the stop, weakened in the final part of the run or failed to arrive at all. Give the complete observation to the installer if the reason remains unclear.
Read a protection indication exactly as shown
A displayed fault identifies a protection state detected by the device. It can point the installer toward current, voltage or water-supply conditions, depending on the model. Copy the exact characters from the display or take a photo from a safe position. Use the guide for the installed revision to match the code, its meaning and any permitted recovery procedure.
Keep the enclosure closed. If the same condition returns, or the panel is damaged, unusually hot or affected by water, stop use and contact a qualified electrician. Never increase a protection limit or repeat a reset to keep a pump running. The manufacturer’s general fault guide can help you describe the category while the electrician confirms the exact indication and the actual cause.
Measure how much water a run actually delivers
If the flow is steady, multiply litres per minute at the delivery point by the number of minutes the pump runs. At 25 litres per minute, 10 minutes gives about 250 litres. The example assumes steady flow throughout. If the source weakens during the run, measure the volume received across the whole run before relying on that estimate.
For a receiving tank, use the space that is free at the beginning of the run. For irrigation, measure under the outlet arrangement you usually use because opening or closing outlets may affect delivery. The owner’s water delivery record and the electrician’s motor limits help determine a duration that suits the site.
What to record
| Water and source | Actual tank level or water delivery, and when it changed. |
|---|---|
| Controller | Active mode, saved value or visible indication and its unit. |
| Starter and motor | Actual start and stop, and first permitted restart where applicable. |
Make a two-line event record. In the first line write the expected result and the setting that should produce it. In the second line write the actual time, visible indication and observed water delivery. If an observation is missing, leave that field blank and tell the installer.

Record what happens after an interruption
An automatic restart can have several conditions. If power returns, a permitted start may depend on the mode, restart settings and normal protection conditions. Some configurations also retain earlier timing information. Use the revision guide and ask the installer to explain the behavior for the mode you actually use. Keep the area around the pump and moving parts clear during supervised testing.
If the pump was waiting before an interruption, write down the time of the interruption, the display after power returned and the actual next start if it occurred. Ask the installer to record how a normal cyclic rest differs from a fault recovery wait. Leave restart settings at the approved values until the behavior is understood and tested.
Change one condition between watched tests
Begin a test with the mode and relevant settings written down. Change one approved timing or operating condition at a time with the installer. Then observe the pump from the start permission through the actual stop. If two settings change together, a normal or unexpected result is harder to explain later.
Use one record for the expected result and one for what really happened. For a clock event include the active day and time. For a level event include the physical water level and display. For a cyclic stop include actual elapsed minutes. When an event repeats, compare those records before requesting another setting change.
Keep a record another operator can use
Write the model and revision, the motor details, the saved mode and the approved values at the top of the record. Under that, note actual start and stop times, any physical tank level or source condition, the display at the time and the result of the test. If the installed setup uses automatic restart, include the first permitted restart and what triggered it.

Model guide and support
Model or family reference · VUKAR Technical Support
Keep the model label, visible display and motor nameplate ready.