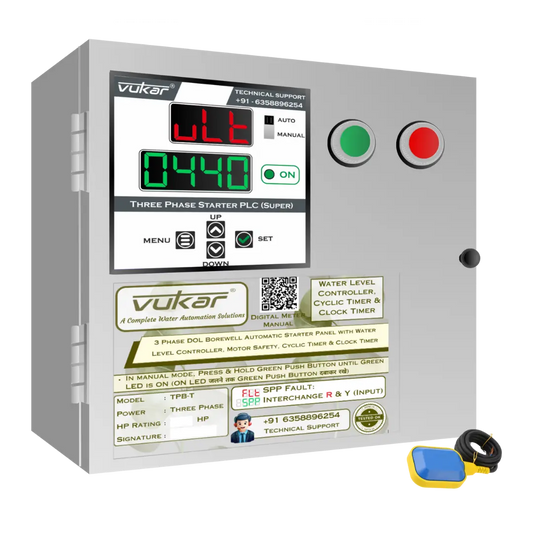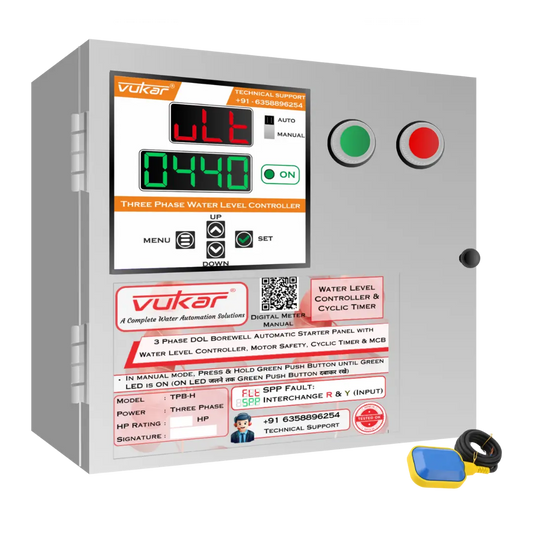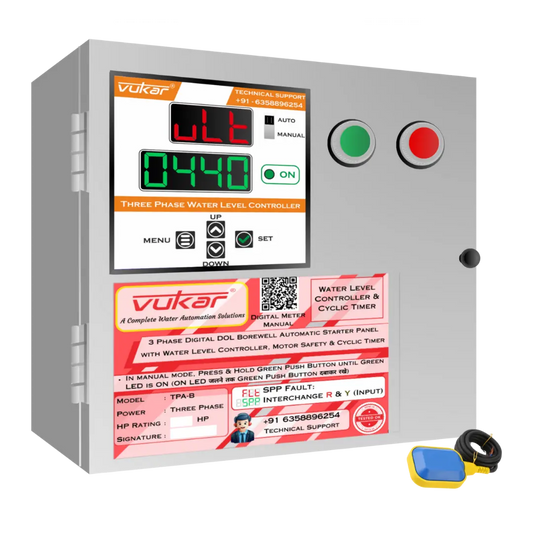

Openwell Pump Not Filling the Tank? OPA-B Float Signal and Fault Checks
Mohit VekariaFor an OPA-B tank not filling, look for the first step that failed. Check the real level of the receiving tank from a safe position, note the float or fill-request indication, then see whether the openwell motor runs and water reaches the tank.
Start with the installed unit
Record the model and revision from the label, the motor nameplate and the active mode. Similar panels can have different menus. Use the installed revision’s guide for any setting, its units and the behavior of the selected mode.

Use the first mismatch to choose what to report
Trace a no-fill event from the physical tank to the water outlet. If the tank is low but the controller shows no fill request, the installer can start by reviewing the level indication, float input and selected mode. If a request is visible while the motor is off, record timing, protection and any available source indication. If the motor is running and there is no water at the destination, record when you last saw delivery and whether it returned.
Use the level and the flow you can see without climbing, opening a panel or reaching into moving equipment. Some installations use a separate source-level input. Record that input if present, along with the real source condition you can safely observe. Ask the installer to demonstrate how your revision treats it. Keep the record of a normal fill as well. The first start, first water arrival and normal full stop make a useful reference for later service.
A worked example for this model (OPA-B)
This model combines automatic water-level control with a cyclic timer. If the destination is low, note whether the source has water and whether a cyclic pause is underway. If the motor runs but delivery never reaches the tank, give the installer the time and flow observations before changing settings. If the controller shows full on a low tank, log the real level and display so the installed float can be checked.
Read the real water level and the controller state
Mark the observed low and full switching points with the installer while the sensor is in its normal installed position. Write down the physical water level, the state shown on the controller and when the motor actually starts or stops. If those three observations disagree, keep the evidence and ask the installer to review the level input and the selected mode.
A level sensor can report that the receiving tank needs water. The start can still depend on source conditions, timing and protection. During a supervised test, observe a valid request and the documented full-level stop. If there is a source input, ask the installer to demonstrate its low-water response using the prescribed method while keeping the pump protected.
Measure how much water a run actually delivers
If the flow is steady, multiply litres per minute at the delivery point by the number of minutes the pump runs. At 25 litres per minute, 10 minutes gives about 250 litres. The example assumes steady flow throughout. If the source weakens during the run, measure the volume received across the whole run before relying on that estimate.
For a receiving tank, use the space that is free at the beginning of the run. For irrigation, measure under the outlet arrangement you usually use because opening or closing outlets may affect delivery. The owner’s water delivery record and the electrician’s motor limits help determine a duration that suits the site.

Follow the command to the pump
A controller can show a request while the motor is still off. A starter switches motor power when the control circuit permits it. Observe the display, the starter’s visible response and water delivery as separate facts. These observations give the electrician a place to start without asking you to open the enclosure or touch conductors.
If the display shows that the pump should be running but there is no water, write down whether you could see or hear the motor run from a safe location. If the motor runs but delivery is absent or weak, record how long it ran and when the flow changed. Keep the display photo and the times together so the installer can compare them with the actual settings.
Use the motor and supply limits
Have the electrician match the motor’s nameplate and the controller’s sensing arrangement before setting overload, dry-run or voltage protection. A setting copied from a different pump can be unsuitable even when the pumps have the same horsepower. Ask the electrician to record the approved values, their units and which manual or measurement they used. Keep the previous approved values in the record if a setting needs to be changed.
Observe normal operation from a dry and safe place with the enclosure closed. Changes to wiring, live measurements, current sensing, protection and automatic restart belong with the installer. If a fault reappears, record the indication and stop using automatic operation until the cause has been assessed. Use the product instructions and the applicable electrical safety rules for installation and service.
Prepare the installation for a watched test
Choose a time when the source has water, the receiving point has room for delivery and the operator can observe from a safe place. Agree with the installer on what counts as a successful start and stop. Use the normal operating controls. Have the installer handle any changes to the electrical circuit or protection settings.
Tell everyone working near the pump when an automatic start could occur. Keep the enclosure closed while observing the display. If the observed behavior differs from the manual or the approved record, stop the test in the normal safe way and write down what happened before any values are changed.
Read the protection indication with the operating record
For overload, note the moment the motor stopped and whether it had reached normal running speed. The configured current response can flag a motor, supply or setup problem. For dry run, record whether water reached the outlet and when delivery weakened. An electrician can compare those events with the installed protection setup and water source.
For a voltage indication, record the time and any interruption you observed. Copy the exact characters on the display. Ask the electrician to use the instructions for the installed revision to identify the indication and decide on recovery. If the fault repeats, leave further operation to the electrician.
What to record for service
| Actual condition | Water level or delivery and the visible operating state. |
|---|---|
| Expected behavior | The active mode, approved timer value or documented switch point. |
| Evidence to send | Timestamp, visible display and what the motor actually did. |

Choose RUN and RST from the water supply
RUN is the elapsed pump-on time. RST is the planned pause between cyclic runs in the selected mode. Choose RUN based on how long the source can deliver a steady flow, the space available where the water goes, and the motor maker’s permitted operating conditions. For RST, consider how long the source needs to recover and any minimum time between starts for the motor.
To estimate starts per hour during an uninterrupted cycle, add RUN and RST in minutes and divide 60 by the total. For example, 10 minutes on and 20 minutes off gives about two planned starts per hour. These are example values. Include any separate starts from other controls, power recovery or fault recovery when the installer reviews the motor’s actual start frequency.
Send the installer one usable event record
Use the exact model and revision at the top of your note. Add the symptom and the active operating mode. On the next line, put the actual clock time, elapsed motor time if known, the visible indication and the water condition. State what you expected in the same note. If a detail could not be observed safely, leave it blank and tell the electrician.
Avoid resetting first and trying to reconstruct the event later. The display, tank condition or rest period can change once the equipment is stopped or power returns. If the electrician authorizes another watched test, agree on the expected start and stop in advance and keep the same model record. If a breaker trips, a protection indication returns or the panel appears damaged, leave further operation to the electrician.
Can I use an older service note for comparison?
An earlier note helps when it names the same installed revision, mode and source conditions. Keep it next to the new record and mark any changes, such as a repaired pipe or a different water source. Give the electrician both dates and identify which details you observed directly.

Model instructions and service
Have the model label, display photo and motor nameplate ready.