
How VUKAR Builds and Tests a Motor Starter Panel
Mohit VekariaVUKAR is a motor starter panel manufacturer in Rajkot, Gujarat. Our build process begins with testing the digital meter’s PCB, the board inside the meter. We then load firmware suited to the intended application and test the meter under load. Once the panel is assembled and wired, we check the finished unit, run it for 2 minutes with an actual load and perform two live trip checks before packing.
Inside VUKAR’s build and test process

- Digital meter PCB test
- Application firmware
- Digital meter load test
- Assembly
- Door parts fitting
- Bottom parts fitting
- Wiring and crimping
- Finishing
- Visual QA
- Load test and final QA
- Packing
The digital meter gets its own load test
Before the digital meter goes into the panel, we test its PCB. PCB stands for printed circuit board. It holds the meter’s electronic parts and the paths that connect them. Testing the board at this point gives us a way to examine the meter electronics before the door controls and panel wiring enter the picture.
Next we load the firmware for the intended load application. Firmware is the software that runs inside the meter. It controls how the device reads and responds to its inputs. During motor starter manufacturing, this step connects the meter’s software to the job the panel is meant to do.
Then we test the digital meter under load. The board test comes before the firmware step. The meter load test comes after it, while the meter can still be evaluated on its own. Later in production, a separate motor starter panel testing stage covers the finished assembly with the meter, controls and wiring in place.
That distinction helps when you read a test description. Ask which item was on the bench, because a meter load test takes place before panel assembly, when the door fittings and the panel’s own wiring are still separate.
- Door · operator-facing components
- Bottom · components inside the enclosure
What goes into the door and the bottom of the panel?
After the meter test, we move to assembly. We fit the components that belong on the door first. The door is the part you see and use when the enclosure is shut, so the parts there depend on what the model puts in front of the operator. The digital display is one example on a model equipped with it.
The bottom fittings come next. By bottom, we mean the lower section inside the enclosure where that panel’s design places its components. The door and bottom are two fitting stages in the same build. Once the parts are in place, the team can wire the actual layout.
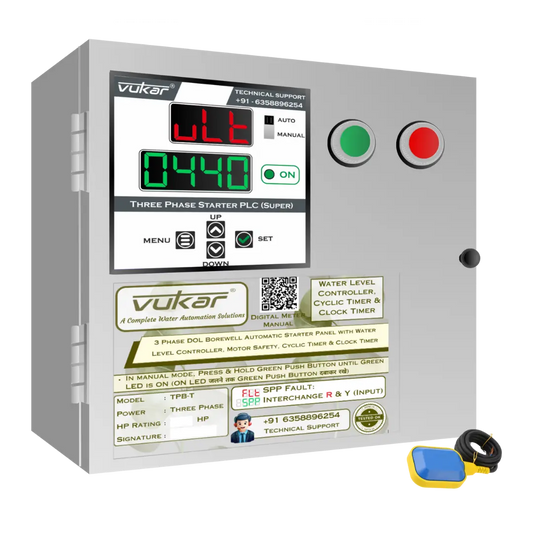
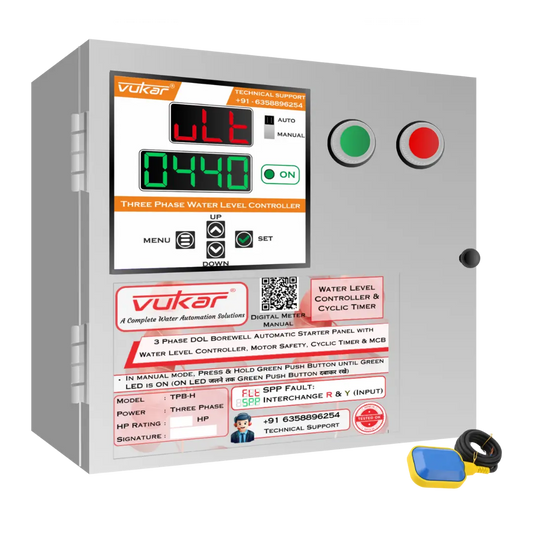
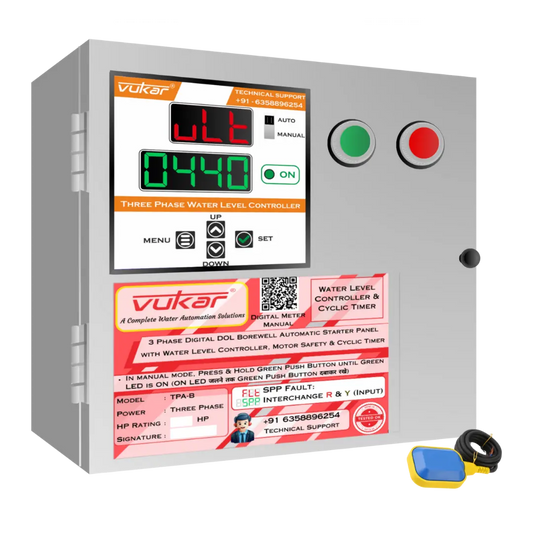
If you compare two VUKAR panels, start with their model pages. One may be intended for a timed pump run, while another includes water level control. Those differences tell you what the operator needs from the panel and which inputs the installer will have to account for. A photo of the door helps you recognise the controls, while the catalogue tells you what the selected model offers.
Wiring and crimping come after the parts are fitted
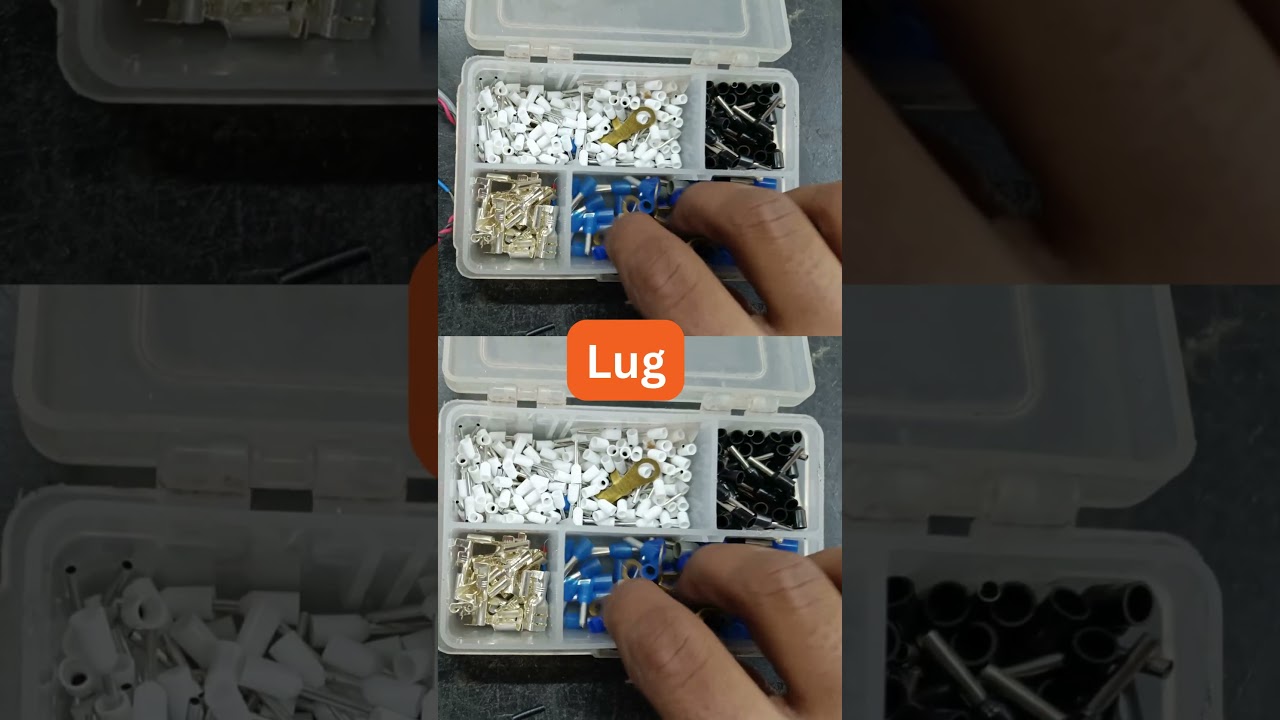
Wiring connects the fitted parts so they can work together. During crimping, a tool presses a terminal onto the end of a wire. The terminal gives the wire a connection point at the component. The workshop photo here shows examples of lugs used for this kind of connection.
This is where the door fittings and the lower components become one assembly. For example, a contactor in a conventional starter switches motor power when its control circuit tells it to do so. The operator works with the controls on the front of the panel. The connections inside the enclosure carry those commands to the components that act on them.
After wiring and crimping, the team moves to finishing. Visual QA follows. QA means quality assurance. This is the stage for looking over the completed build before the final checks under load. At this point the team can see the fitted parts and the finished wiring. The final QA stage includes checking how the parts work.
- Voltage and current in amperes
- Display and each fitted part
- 2-minute run with an actual load
- Two live trip checks
What happens during the 2-minute run and live trip checks?
The finished starter panel goes through load testing and final QA. We look at voltage and current in amperes, check the display and confirm that each fitted part works. The display check and the readings give us different information. The display is what the operator will see, while the voltage and current readings describe the electrical conditions during the test.
The panel runs for 2 minutes with an actual load. The test applies to the assembled unit at this stage, after the door and bottom fittings, wiring and finishing are complete. Running the complete panel gives the team a chance to see the meter and fitted components working together with the load connected.
We also perform two live trip checks. A trip is the point at which the panel responds to a protection condition by interrupting motor operation. The live checks cover that response. The 2-minute run covers normal operation with a load connected. The checks answer different questions about the same finished unit.
For a pump owner, that difference matters. A panel can power up and show a reading, yet that alone leaves a separate question about how it responds when protection needs to act. The loaded run and the live trip checks give the team two opportunities to see how the complete assembly behaves. A trip function you need for your own pump, such as dry-run protection where the model supports it, is worth identifying by name when you compare models.
| Stage | What is under test | What the stage covers |
|---|---|---|
| Digital meter load test | The meter before assembly | Meter operation under load after the application firmware is loaded |
| Visual QA | The finished build | Visual inspection after wiring and finishing |
| Final load test and QA | The complete starter panel | Voltage, current in amperes, display and fitted parts, a 2-minute run with an actual load, and two live trip checks |
Packing follows final QA
The panel moves to packing after final QA. By this stage the meter has already been tested on its own and the assembled starter has gone through its loaded run and live trip checks. The sequence matters because packing comes after the team has seen the complete panel operate.
At the installation site, keep the panel model and the motor nameplate together when you speak with your electrician. The factory run takes place with an actual load in the workshop. The electrician still needs the details of your own motor and its supply to choose the panel variant and set it up for that installation. The model’s manual is the reference for that work. If you already own a VUKAR panel, a photo of its model label can help the installer find the matching manual.
If your current pump is controlled by a person at the panel, say so. If you want it to respond to a tank float or a timer, say what should start the run and what should end it. That description helps the seller match the controls to the job while your electrician works from the motor’s electrical ratings.
When you compare models, send a clear photo of the motor nameplate and one line about how you need the pump to run. Bring both to the VUKAR model comparison so you can look at panels that suit your motor and the way you want to control it.
Find the manual for your panel · Compare VUKAR motor starter panels