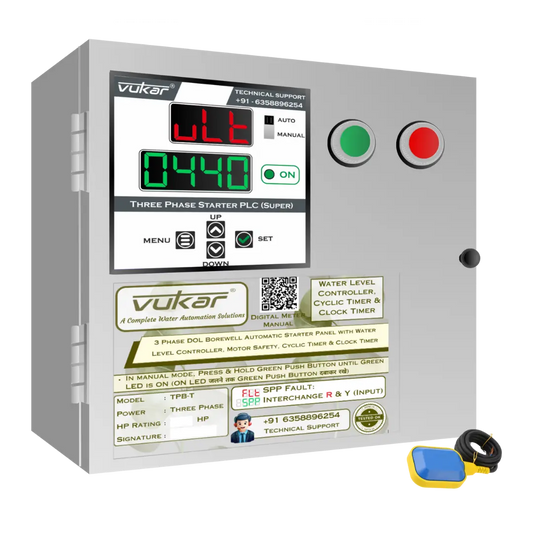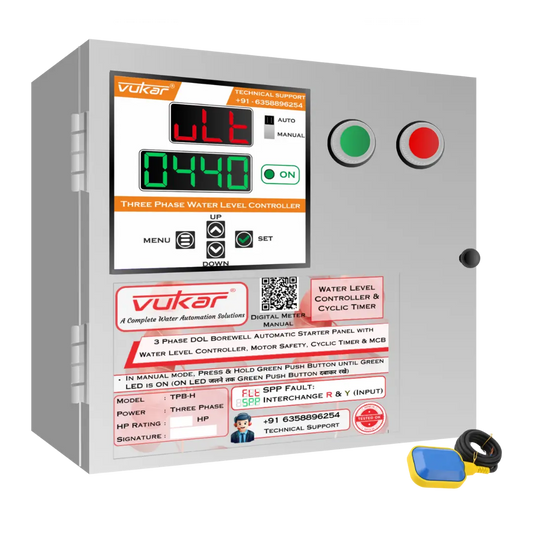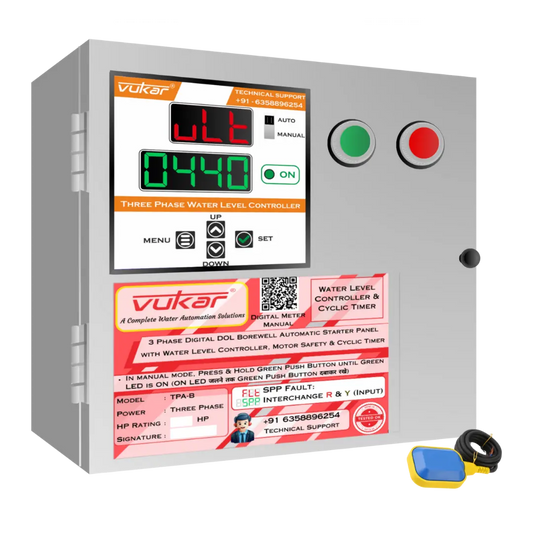

Recommended OPA-T Settings: Openwell Tank Levels and Clock Scheduling
Mohit Vekaria
OPA-T recommended parameter settings are a commissioning record for your exact single-phase openwell pump starter. Confirm the low and full tank switching points, set the clock and enabled weekdays for the approved schedule, and keep the RUN/RST and protection values in the commissioning record.

What belongs on the first-installation checklist?
An openwell fills a tank during hours when someone can observe the first cycle. If the tank becomes full earlier than expected, record the full indication and the controller time. Those observations help distinguish the effect of tank demand from the effect of the scheduled period.
Write the panel model and variant as they appear on the label. Add the controller revision and the motor’s rated current and voltage from the nameplate or pump paperwork. The model tells you which functions the panel offers. The actual motor, supply, water source and operating mode determine the settings that belong in the record. Use the revision-matched instructions for the menu labels and save procedure. VUKAR product manuals and parameter reference
| Setting | What it does | What to record |
|---|---|---|
| OL / OLT | Overload current threshold and delay before an overload trip. | Approved amps (A) and seconds (s). |
| DR / DRT | Low-current threshold for dry-run detection and its own trip delay. | Approved amps and seconds. |
| HIU / LOU | High and low supply-voltage limits. | Both limits in volts (V). |
| Tank inputs and mode | The commissioned level-control arrangement makes a fill request and ends it at the full point. | Actual low and full response, installed sensor layout, and selected mode. |
| RUN / RST | Run and rest lengths for the commissioned repeating cycle. | Both durations in minutes and the exact labels shown. |
| AST | Applicable delay after power returns before an eligible automatic start. | Approved seconds and the conditions the installer confirmed. |
| Clock and enabled schedule | Current controller time and days or slots used by the selected schedule. | Clock and day, enabled weekdays and operating period. |
Read current limits and delays as pairs
OL and DR are current limits. OLT and DRT are delays. With overload protection, the controller looks for current above the approved overload limit for the associated time. With dry-run protection, it looks for current below its approved threshold for the corresponding time. A short change in the current reading and a continuing condition tell the controller different things. Record the limit and delay together so the next installer can see both parts of the decision.

Keep the two voltage limits in the same record, with HIU for the upper limit and LOU for the lower limit. A voltage shown on the front display is the reading at that moment. Write a measured reading and a saved limit in different fields. If a protection trip repeats, note the displayed indication and the conditions around the stop so an installer can investigate the motor, supply or water source.
Have a qualified installer choose protection values using the actual motor and supply. Values from a different pump or controller revision can mislead even when the model name looks familiar. Ask the installer to record who approved the final limits and the date they were set. For wiring and work inside the enclosure, use a licensed electrical contractor and have the supply isolated and verified dead. Central Electricity Authority safety regulations

VUKAR product
OPA-T Single-Phase Starter Panel
For compatible openwell pumps. See the product gallery and model features for openwell tank levels and clock scheduling.
View OPA-TOpenwell tank levels and clock scheduling
Write down how the installed operating mode uses a time window and a level request. The actual sequence can depend on the selected mode and controller revision. Ask the installer to demonstrate the commissioned sequence and label each enabled slot and any unused slots in the record.
For the tank control test, the installer observes the actual water levels with the installed level-sensing arrangement in service. Record when the system recognizes a low demand and what happens at the full point. Keep the tank, sensor layout and selected mode on the same line. If the source cannot supply the pump during the test, record that condition before interpreting what happened on the receiving side.
Record RUN and RST using the exact labels shown on your installed controller. In a commissioned repeating cycle, record both run and rest in minutes. Observe a complete run, the normal stop, the rest period and the next permitted start. Use the pump maker’s operating limits and the installer’s observations of water delivery when choosing the cycle. If another mode uses a time differently, record that mode separately.
Set the controller’s current time and applicable day or date before reading the enabled schedule. Record the weekday selection, the active window and what the installed mode did during the first watched period. The controller clock tells you when a time window applies. The elapsed timers tell you how long the pump ran or rested. Keep unused slots inactive where the revision supports it.
If power-return automatic starting is commissioned, record AST in seconds with the selected mode and the conditions for an eligible start. Ask the installer to document the behavior safely. Keep clear of the equipment during any approved restart test. A power-return delay should have its own entry even when a cyclic rest delay is also present.

Keep the other applicable values as commissioned
Keep the documented defaults for the exact controller revision or the values the installer already commissioned. If TRQ appears on your panel, leave its starting torque time at that approved value. Keep current-sensor selection, marked CTS where applicable, and current or voltage calibration as commissioned. Those values belong with the installed hardware and measurements. Have the installer review changes using the matching instructions.
The approved restart settings may include a fault delay, memory after an outage or lockout behavior. Ask the installer to write down which options apply and what can happen after a supply interruption or fault. Keep the recorded mode and labels with the values so they still make sense at the next service visit.
Write down what happened during the watched run
For a missed fill, note the weekday shown by the controller, the saved period and the tank indication at the time. A dated record helps the installer tell a wrong weekday from a protection stop or a tank condition.

Keep three things together for handover. First, identify the panel variant, revision, motor and water source. Second, copy the saved settings and units, including the mode that was tested. Third, write when the test started and stopped, what the display showed and any unexpected event. Date the record and add the installer’s name. This gives you a baseline if a motor, sensor or water source changes later.
If the values already in the panel and the settings on an old service sheet differ, keep both records until the installer has identified the current approved set. A note such as “read from panel” or “approved after test” tells you which numbers were observed and which ones were accepted for the installation. Leave a missing unit or value blank until it can be confirmed.
When reporting a problem, send the panel model and revision, motor rating, current mode, display code and the time of the event. Include the saved timer or protection setting that relates to the event and note any recent change in the installation. VUKAR technical support
Use the OPA-T installation and setup guide for the panel-specific setup sequence and the VUKAR guide to pump timer types for how the different timing modes behave. At the end of the visit, keep the approved settings sheet where the next owner or technician can find it.