
Electrical Symbols
Mohit Vekaria
Electrical symbols are the small shapes and marks that tell you what is in a circuit and how the parts connect. Start with the drawing key, then follow one path from its supply to its return. Look for junction dots, read the tags next to each part, and check whether each switch or contact is shown open or closed at rest. That order will help you read a real schematic even when the drawing uses shapes you have never seen before.
Start with the key for electrical wiring diagram symbols
Imagine you are looking at a machine drawing and see a line crossing another line beside a mark called K1. Before guessing, look at the title block. It usually tells you what the drawing covers, the sheet number and the revision. Find the page with the legend, or drawing key. Keep it open as you read. One set can have separate drawings for the machine’s power, its controls and the terminals that join the two.
A schematic shows how a circuit works. A wiring diagram may give physical details such as terminal numbers, wire IDs and connectors. A panel layout shows where parts sit. Start with the view that answers your question. If you want to understand why an indicator can turn on, start with the schematic. If you want to identify the connector shown in that path, look up its tag on the wiring or terminal sheet.
Electrical symbols chart for beginners
Use these electrical circuit symbols to identify the job of a part. The picture and tag together usually tell you more than either can tell you alone. R1, for example, can point to a resistor entry in a parts list. Its value might be written beside the shape or listed elsewhere on the drawing set.

| Mark or part | What it tells you | What to look up |
|---|---|---|
| Wire and junction | A line shows a path. A junction dot marks a joined branch. | The drawing’s rule for crossings and the wire ID. |
| Fuse | The circuit includes a fuse in that path. | The exact type and rating in the device list. |
| Resistor | This part limits current or sets a voltage, depending on the circuit. | Its resistance, given in ohms (Ω), and its reference tag. |
| Capacitor | This part stores electric charge. | Its capacitance, voltage rating and any polarity mark. |
| Lamp | An indicator or other lamp appears in that path. | The label that explains what the light means. |
| Contact and coil | A contact opens or closes a path. A coil can operate contacts. | The contact’s rest state and the shared device tag. |
Electrical schematic symbols can vary across drawing families. A fixed resistor may appear as a small rectangle or a zigzag. Both shapes can have a tag like R1 and a value like 1 kΩ. Check those clues against the key. IEC maintains an international collection of graphical symbols, and electrical drawing tools can offer more than one symbol library. IEC graphical symbols reference · Autodesk symbol library guide
Follow wires through a junction or across a page
Two lines can cross on the screen without being joined in the circuit. In the common dot convention, a filled dot at the meeting point means the paths join. A plain crossing without a dot keeps the paths separate. Older drawings and particular drawing sets can use a different mark, so check the legend when you are unsure. A dot can be hard to see in a faded print. Zoom in on the original file before deciding where the path goes. KiCad guide to electrical connections

A path can also continue somewhere else without a line running between the two points on the page. On a schematic, a net label names an electrical connection. In many drawings, matching labels connect within the scope defined for that label. A local label can apply only to its own sheet. In a machine drawing you might also see an arrow with a sheet number and grid location. Write down the reference and find the other end before you continue.
Read normally open and normally closed contacts
For a basic relay, read the contacts with the coil at rest. A normally open (NO) contact leaves a gap at rest and closes when the relay operates. A normally closed (NC) contact gives a path at rest and opens when the relay operates. For a push button, read the rest state with the button released. If the drawing states a special condition for the view, follow that note. Schneider Electric contact definitions

The coil and its contacts can be far apart on the page or on different sheets. The tag tells you which pieces belong together. If you see a coil marked K1, find every K1 reference and check what each contact does. Some drawings print the contact’s location next to the coil. Terminal marks help confirm the part, but read the data for that exact model. For example, Schneider lists A1 and A2 for the TeSys D coil and 13–14 for the listed NO auxiliary contact. TeSys D terminal reference

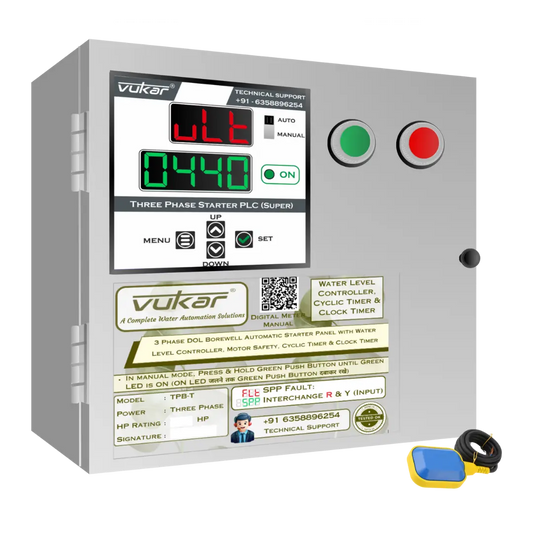
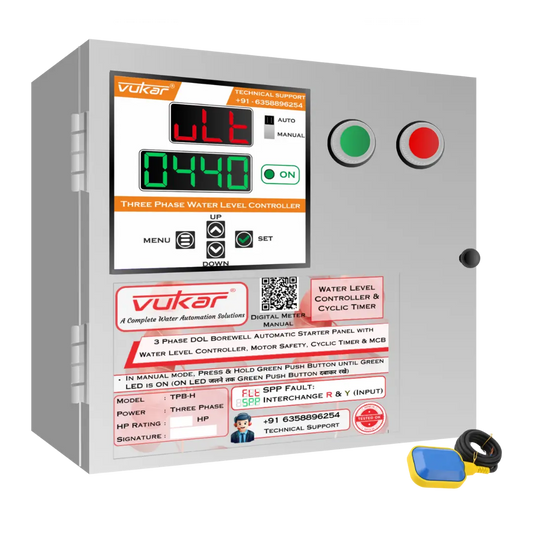
VUKAR product
TPM-H 3-Phase DOL Starter Panel
For three-phase borewell, openwell or monoblock pumps that need direct-on-line starting. The panel includes a built-in MCB, auto switch and cyclic timer.
Three phase · variants up to 10 HP
View TPM-HPractice on a two-path relay drawing
On the illustration below, the top path contains push button S1 and relay coil K1. The bottom path contains a K1 normally open contact and lamp H1. Both paths run between the same low-voltage supply and return. You can work through what the drawing means with three questions.

- What can happen at rest? S1 is open, so the top path does not energize the coil. K1’s contact is open, so the lamp path is also open.
- What changes when S1 is pressed? The top path closes and the coil operates. The contact marked K1 closes in the second path, so H1 lights if the supply and the parts are working.
- What happens when S1 is released? The coil drops out and the contact opens again. The lamp goes out. This simple drawing has no holding path to keep K1 on.
The useful part of this exercise is finding the connection between the two K1 tags. No wire joins the coil symbol directly to the contact symbol. The tags tell you that the coil operates the contact. That same reading habit helps when one coil appears on a controls sheet and its contacts appear on a separate power sheet.
Three checks before you trust your reading
- Read the exact tag. K1 and K11 can look alike in a small print. Check the label beside the symbol and use the sheet or grid reference if shown.
- Read the return label. The marks 0 V, signal ground and protective earth can serve different jobs. Follow the label and the legend before deciding which points the drawing joins.
- Read the model and revision. If a drawing is for a real machine, match the model and revision to the equipment. Learn with the drawing on paper. Give the correct document to a qualified electrician for actual wiring.
What if the drawing gives you only part of the answer?
Is a wire number the same as a terminal number? A wire ID tells you which conductor or path you are tracing under that drawing's rules. A terminal number identifies a connection point on a part or terminal strip. Write down both when you have them. If a line ends at X1:4, find X1 in the terminal schedule and read position 4 on the correct strip. The label X1:4 is only an example. Use the actual drawing's naming rules.
What if the relay appears twice with the same name? First check that the full tag and any location prefix match. Then read the part symbols. Two different contacts on the same relay can share the relay's device tag and have different terminal pairs. The parts list can tell you what the device is. The contact symbols tell you what each path does.
What if a part's value is missing? Find its reference in the parts list, device schedule or model documentation. A symbol can show that a fuse is present without telling you its current rating. The same goes for a relay coil and its rated voltage. Keep the missing value marked as unknown until you find it.
For your next practice drawing, pick one indicator or relay in the VUKAR manual and connection-diagram library. Write down its tag, find the matching reference, and trace its path to the return. If you can explain which contact changes and why, you can read the main idea of the circuit.